Cubyts allows you to control access and authorizations for different members of your team. The purpose of authorizations is to ensure that members only have access to the information and functionality that they need to do their jobs effectively while preventing them from accidentally or intentionally altering or deleting data that they shouldn’t.
Cubyts offers 6 different types of authorizations - 3 at the workspace level and 3 at the project level.
Authorizations at the Workspace Level
Super Admins
The person who creates the workspace is the Super-admin
Super-admin can manage seats and authorizations
- They can enable integrations for the workspace
Currently, we offer only one Super-admin seat and it is non-transferable. However, we are working on this transaction and it will be available soon.
Admins
- This is a paid seat
- One can add as many admin seats as required in the workspace
- Admins can add and manage projects
- Admins can add and manage member authorizations
- They can enable integrations for the workspace
Observers
This is a free-seat
These are members who can get access to all the information in the workspace whether they are a part of the projects or not
Pro tip: You can use this auth to invite stakeholders to your workspace
Authorizations at the Project Level
Project Owners
This is a paid seat
A project can have any number of Project Owners
They can create and manage projects and project-level authorizations
They can manage team members, their authorizations, and their workload
They can review and approve assignments
They manage and review the time reports of their team members
Contributors
This is a paid seat
Contributors can manage and update activities they are assigned to
They can mark their assignments for review
They can upload files and add comments
Viewers
This is a free seat
They can only add comments to the projects
They view project details
Adding Members to the Workspace
As a super admin or admin, here is how you can add members at the workspace level:
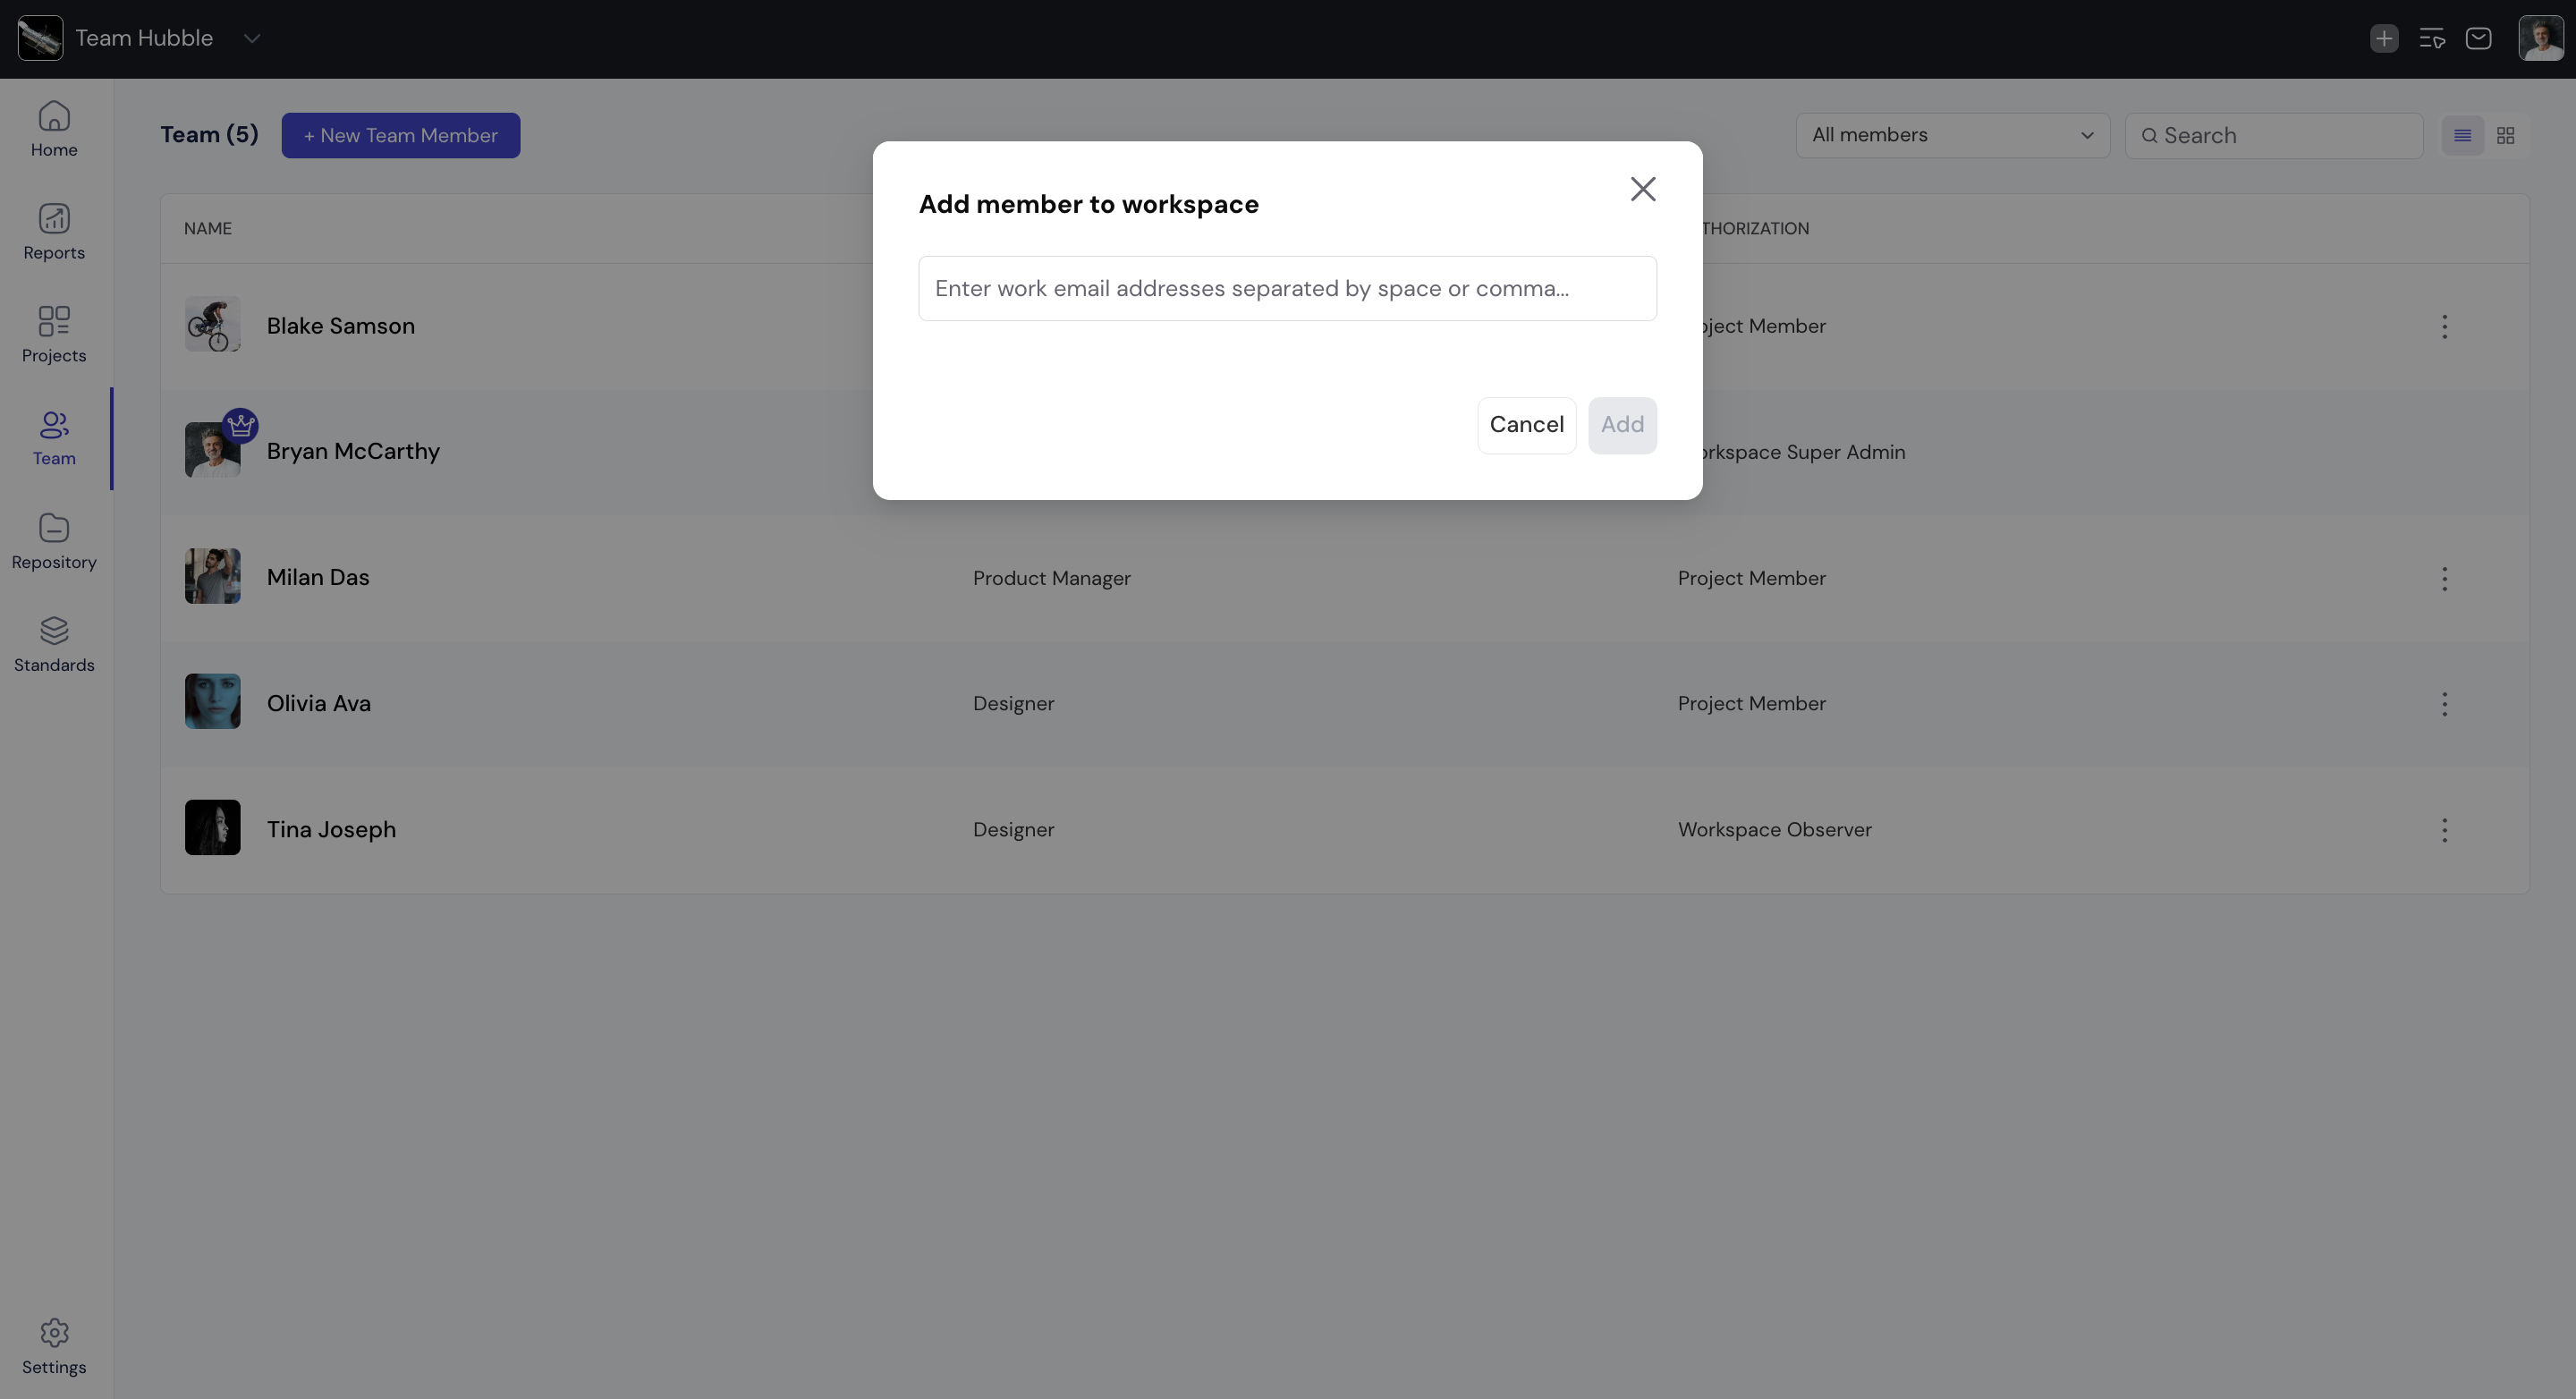
Image: When the user clicks on the new team member from the workspace Teams tab
 Image: Add member modal window
Go to your workspace ‘Teams’ page.
Click ‘+New Team Member’ and add an email ID to add a member.
Click the drop-down to define the member’s authorizations as Admin or Observer
Click ‘Done’ to invite them to your workspace
The members will receive an invitation email and once they accept the invite, they will get added to your workspace
Managing Team Authorizations in the Workspace
As a super admin or admin, here is how you can manage team authorizations:
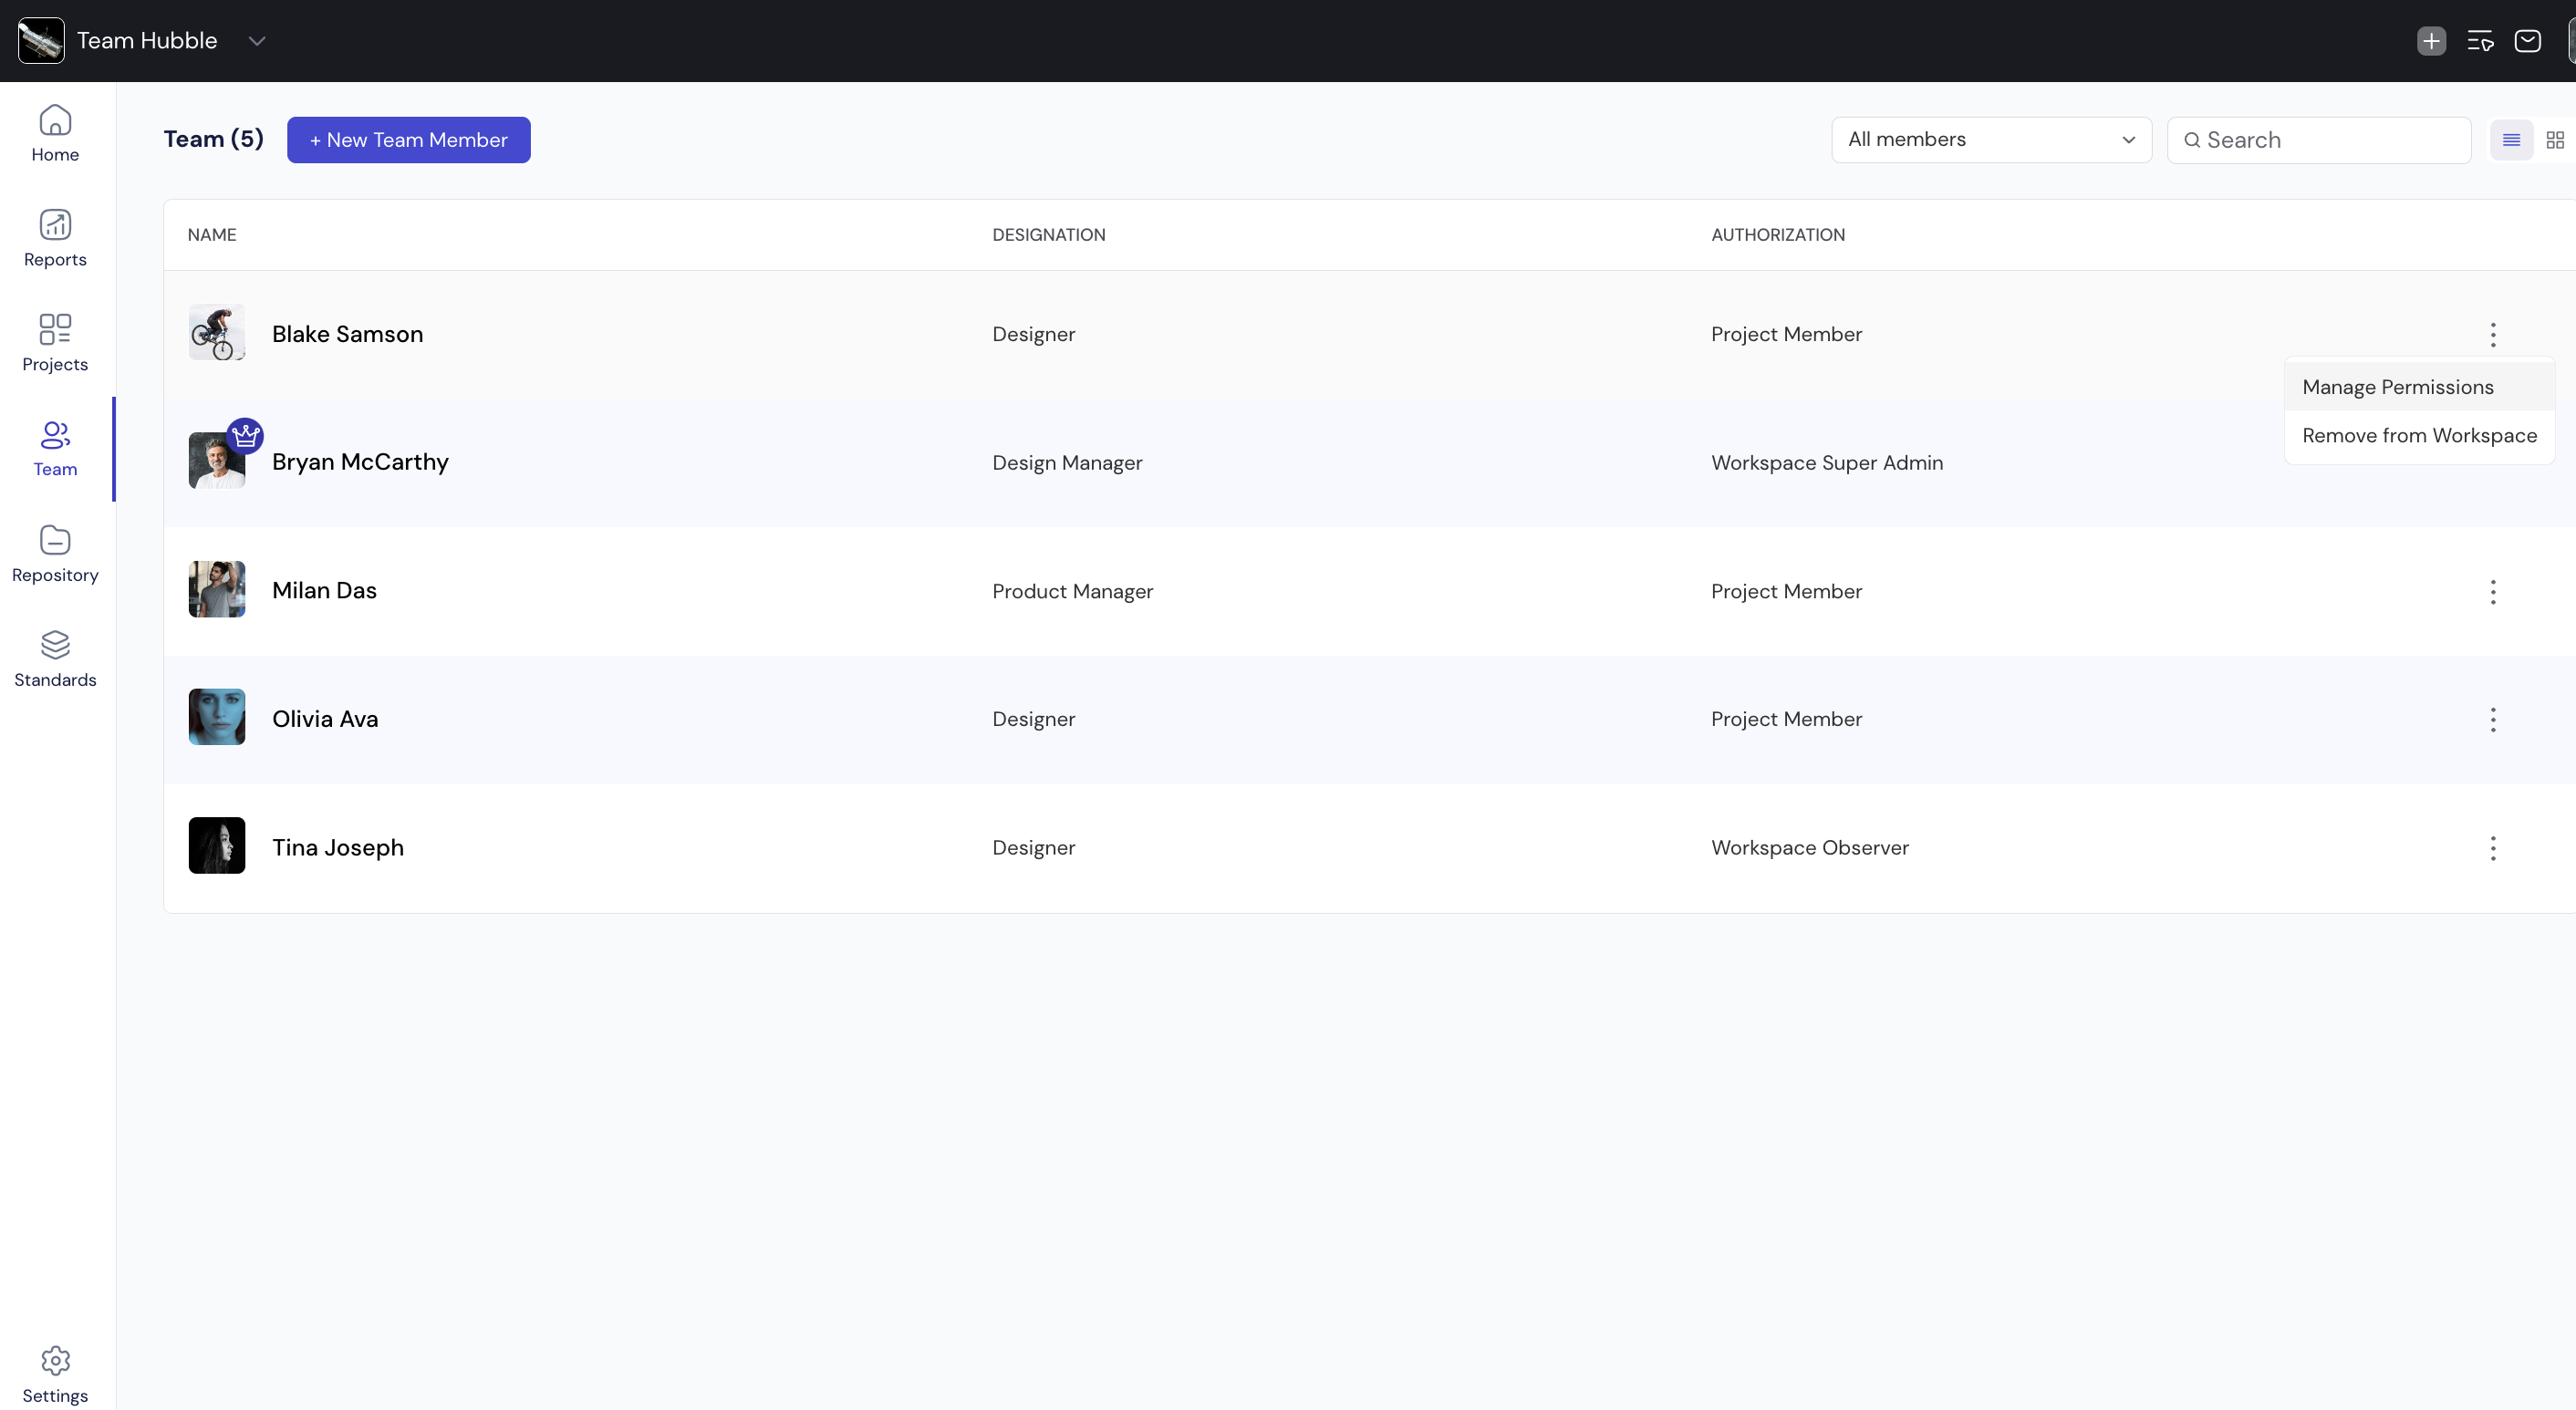
Image: Managing authorization from the 'teams page'

Image: Managing permissions for a member
Go to your workspace ‘Teams’ page.
Click the ‘three dots’ on a member’s card and select ‘Manage Authorizations.
You’ll see the list of projects that the member is working on.
Change the workspace authorizations as per your requirements.
The member will receive a notification about the same.
Adding Members to a Project Image: Adding member and managing auth from the Members section on the project header
As a project owner, here’s how you can add members to your projects:
Click ‘+New Team Member’ on the project header and add an email ID to add a member.
Click the drop-down to define the member’s authorizations as Owner, Contributor, or Viewer
Click ‘Done’ to add them to your project.
The member will directly get added to the project if they’re a workspace member.
If not, they’ll receive an invitation email and once they accept the invite, they will get added to your project.
The member gets added as a ‘Contributor’ by default.
You can also manage your authorizations from here.